MailerLite is one of the most popular email marketing tools trusted by businesses, bloggers, and creators worldwide. From sending newsletters to automating campaigns and tracking analytics, it makes digital marketing easy and efficient.
But before you can manage your subscribers or send an email campaign, you’ll need to log in to your MailerLite account. This step-by-step guide will show you exactly how to log in, reset your password, and troubleshoot any common issues — all in one place.
Getting Started with MailerLite
What Is MailerLite?
MailerLite is an intuitive email marketing platform designed to help businesses and creators build meaningful relationships with their audience. Whether you’re sending newsletters, creating automated email sequences, or building landing pages, MailerLite provides all the tools you need without the complexity or hefty price tag of enterprise solutions.
Why Choose MailerLite?
The platform’s main value propositions include:
- User-Friendly Interface: Clean, intuitive design that doesn’t require technical expertise
- Affordable Pricing: Generous free plan and competitive paid tiers
- Comprehensive Features: Email automation, landing pages, pop-ups, and advanced analytics
- Excellent Deliverability: High inbox placement rates ensure your emails reach your subscribers
- 24/7 Support: Responsive customer service via email and live chat
Ready to Get Started?
To begin your MailerLite journey, you’ll need to visit their website and create an account. The entire setup process typically takes 10-15 minutes, though account approval may require additional time for verification purposes.
The setup process involves three main phases:
- Account Creation: Providing basic information and verifying your email
- Profile Completion: Answering questions about your business and email marketing goals
- Account Review: MailerLite’s compliance team reviewing your application
Now, let’s walk through each step in detail.
AT&T My Results: Your Complete Login & Access Guide
15 Steps to Setting Up Your MailerLite Login & Account
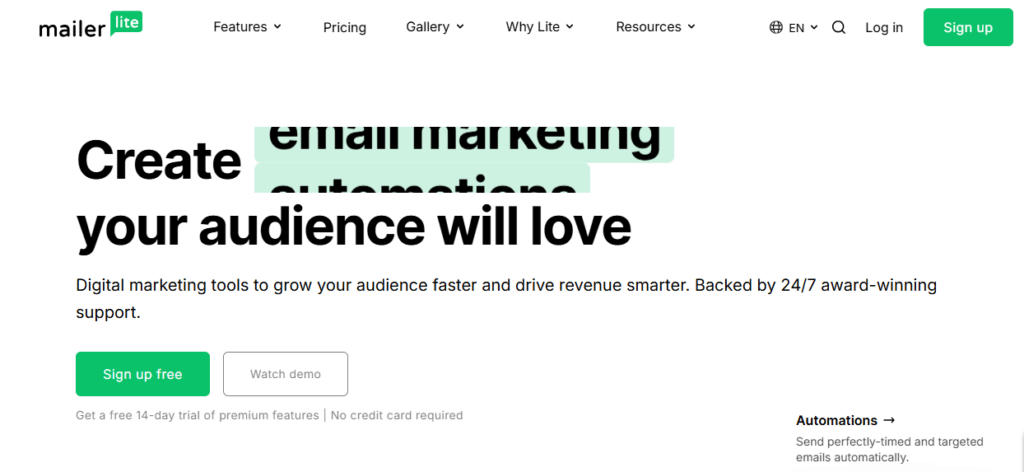
Step 1: Go to “Create My Account” Page
Navigate to the MailerLite website and locate the “Sign Up” or “Create My Account” button, typically found in the top right corner of the homepage.
Why This Matters: Starting from the official MailerLite website ensures you’re creating a legitimate account and have access to the latest features and security protocols.
Pro Tip: Bookmark the MailerLite login page for easy access in the future. The URL is typically mailerlite.com/signup.
Step 2: Enter Company/Organization, Full Name, Email Address, and Password
You’ll be presented with a registration form requesting four key pieces of information:
- Company/Organization Name: Enter your business name or personal brand
- Full Name: Your first and last name
- Email Address: Use a professional email address you check regularly
- Password: Create a strong password with at least 8 characters, including uppercase, lowercase, and numbers
Why This Matters: These credentials form the foundation of your account security and identity. Your company name will appear in email headers, so choose wisely.
Common Issues:
- Weak passwords being rejected (must meet security requirements)
- Using personal emails like Gmail that might get flagged for business use
- Typos in email addresses leading to verification issues
Best Practices:
- Use your domain email (e.g., hello@yourbusiness.com) for better professionalism
- Store your password in a secure password manager
- Ensure your company name matches your business registration if applicable
Step 3: Land on Dashboard Page; Verify Email Is Correct
After submitting your registration, you’ll be redirected to the MailerLite dashboard. Before proceeding, double-check that the email address displayed is correct.
Why This Matters: An incorrect email address means you won’t receive the verification email, preventing account activation. Correcting it now saves troubleshooting later.
What to Look For: Your email should be prominently displayed, often with a message indicating verification is pending.
Step 4: Go to Your Email and Click on “Verify Email Address”
Check your inbox for an email from MailerLite with the subject line similar to “Verify your email address” or “Confirm your MailerLite account.”
Why This Matters: Email verification confirms you own the email address and helps prevent spam accounts. Unverified accounts have limited functionality.
Troubleshooting:
- Email not received? Check your spam/junk folder
- Still nothing? Wait 5-10 minutes; sometimes emails are delayed
- Need to resend? Look for a “Resend verification email” option on your dashboard
Action Required: Click the verification button or link within the email. This will either open a new browser tab confirming verification or redirect you to the login page.
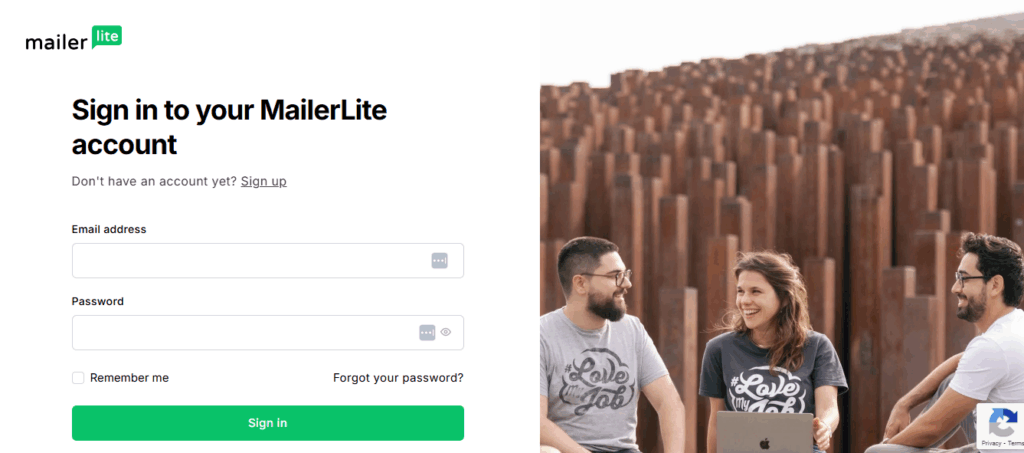
Step 5: Login to Your New Account
After verification, return to the MailerLite website and log in using your email address and password.
Why This Matters: This confirms your credentials work correctly and gives you full access to begin setting up your account.
Quick Tip: Use the “Remember Me” option only on personal devices. Avoid this on shared or public computers for security reasons.
How to Login to LaSRS Dashboard?
Step 6: On Dashboard, Click on “Complete Profile”
Once logged in, you’ll see a dashboard with various options. Look for a “Complete Profile” button, prompt, or checklist item—usually prominently displayed to encourage completion.
Why This Matters: Completing your profile is mandatory for account approval and unlocking all features. MailerLite uses this information to ensure compliance with anti-spam regulations and understand how to best support your needs.
What to Expect: You’ll be guided through a series of questions about your email marketing experience, business, and intended use of the platform.
Step 7: Answer Profile Question 1 – Email Marketing
The first question typically asks about your email marketing experience or goals. Options might include:
- “I’m new to email marketing”
- “I’m switching from another platform”
- “I’m already using MailerLite and want to upgrade”
Why This Matters: Your answer helps MailerLite customize your onboarding experience with relevant tutorials, templates, and recommendations.
Honest Answers Work Best: Don’t worry about appearing inexperienced. MailerLite offers excellent resources for beginners, and being truthful ensures you get the right guidance.
Step 8: Answer Profile Question 2 – About You
This question asks about your role or how you plan to use MailerLite:
- Blogger/Content Creator
- Small Business Owner
- Marketer/Agency
- eCommerce Store Owner
- Nonprofit Organization
- Other
Why This Matters: Understanding your role helps MailerLite suggest relevant features, integrations, and templates tailored to your industry.
For Indian Users: If you’re a solopreneur or freelancer, “Small Business Owner” or your specific niche (like content creator) works well.
Step 9: Answer Profile Question 3 – Organization Information
Here you’ll provide details about your business:
- Website URL: Your business website or blog
- Industry/Sector: Dropdown selection of your business category
- Address: Your business location (required for CAN-SPAM compliance)
Why This Matters: This information is legally required for email compliance. Your address will appear in email footers as mandated by anti-spam laws.
Important for Indian Businesses: Ensure your address is accurate. If you work from home and prefer privacy, consider using a registered office address or virtual office.
Common Issues:
- Not having a website yet (you can add it later, but having one helps with approval)
- Privacy concerns about displaying personal addresses (virtual office solutions can help)
Step 10: Answer Profile Question 4 – Interests
This question explores which MailerLite features interest you most:
- Email campaigns
- Automation workflows
- Landing pages
- Pop-ups and embedded forms
- eCommerce integrations
- Analytics and reporting
Why This Matters: Your selections help prioritize which features to highlight in your dashboard and onboarding tutorials.
Pro Tip: Select all that apply. You’re not locked into these choices, and exploring all features helps you discover what works best for your strategy.
A Guide to Blackboard GBC Login on George Brown College Portal
Step 11: Answer Profile Question 5 – Subscribers
You’ll be asked about your current or expected subscriber count:
- 0-1,000 subscribers
- 1,000-2,500 subscribers
- 2,500-5,000 subscribers
- 5,000+ subscribers
Why This Matters: This helps determine if the free plan suits your needs or if you’ll need a paid plan. It also ensures MailerLite can recommend appropriate pricing and features.
For New Users: Don’t worry if you’re starting from zero. The free plan accommodates up to 1,000 subscribers, perfect for beginners building their list.
Step 12: Answer Profile Question 6 – Tools
This question asks which other tools or platforms you’re currently using or plan to integrate:
- WordPress
- Shopify
- WooCommerce
- Stripe
- Other CRM or marketing tools
Why This Matters: Knowing your tech stack helps MailerLite suggest relevant integrations and provide setup guidance for seamless connections.
Indian Market Considerations: If you use Indian payment gateways like Razorpay or Instamojo, or local CRM tools, mention them in “Other” if available.
Step 13: Answer Profile Question 7 – Anti-Spam Policy
This crucial step requires you to acknowledge MailerLite’s anti-spam policy and confirm:
- You have permission to email your subscribers
- You won’t send spam
- You’ll comply with email marketing regulations (CAN-SPAM, GDPR, etc.)
- Your subscribers opted in to receive emails
Why This Matters: This is a legal requirement and helps maintain MailerLite’s excellent deliverability reputation. Violating anti-spam policies can result in account suspension.
What You Need to Know:
- Never purchase email lists
- Always use double opt-in when possible
- Include clear unsubscribe options in all emails
- Only email people who’ve given explicit consent
For Indian Users: While India doesn’t have comprehensive email marketing laws like GDPR, following international best practices protects your reputation and ensures compliance if you have international subscribers.
Step 14: Dashboard – Account Review Pending
After completing your profile, you’ll see a message indicating your account is under review. This typically states “Account Review Pending” or similar.
Why This Matters: MailerLite manually reviews accounts to prevent spam and ensure platform integrity. This protects legitimate users by maintaining high deliverability rates.
Timeline:
- Most accounts are approved within 24-48 hours
- Some accounts may be approved in just a few hours
- Complex cases might take up to 3-5 business days
What You Can Do While Waiting:
- Explore the dashboard interface
- Read MailerLite’s knowledge base and tutorials
- Plan your first email campaign
- Draft email content
- Create subscriber segments (even without subscribers yet)
If Denied: In rare cases, accounts may be rejected if they violate policies. If this happens, you’ll receive an email explaining why and whether you can appeal.
Step 15 (Optional): Dashboard – Upgrade Account
Once approved (or even before), you’ll see options to upgrade your account from the free plan to a paid tier.
Why This Matters: Understanding your upgrade options helps you plan for growth. However, most beginners should start with the free plan to learn the platform.
When to Consider Upgrading:
- You exceed 1,000 subscribers
- You need advanced features like auto resend or promotional pop-ups
- You want to remove MailerLite branding
- You require priority support
Pro Tip: MailerLite will notify you when you’re approaching subscriber limits, giving you time to decide whether to upgrade or clean your list.
Piso WiFi 10.0.0.1 Pause Time, Login, Logout
Forgot Password? Here’s How to Reset It
Can’t remember your password? Don’t worry — resetting it is easy.
- On the login page, click on “Forgot password?”
- Enter the email address linked to your MailerLite account.
- Check your inbox for a password reset email.
- Follow the link in the email to set a new password.
Tip: Choose a strong password that includes numbers, symbols, and both upper- and lowercase letters to keep your account secure.
Troubleshooting MailerLite Classic vs. New MailerLite
MailerLite has two versions — Classic and New MailerLite.
If you see an error like “account not found,” you may be trying to log in to the wrong version.
- MailerLite Classic Login: https://app.mailerlite.com/login
- New MailerLite Login: https://accounts.mailerlite.com
If you’re unsure which one you’re using, check your welcome email or the design of your dashboard after login — the new version has a fresher, modern interface.
Conclusion
Logging in to MailerLite is usually quick and easy — whether you’re using a desktop or mobile device. Just make sure you’re on the correct login page, keep your credentials secure, and enable two-factor authentication for added safety.
If you’re new to MailerLite, you can create a free account here and start exploring powerful tools to grow your audience, send campaigns, and track results — all in one dashboard.