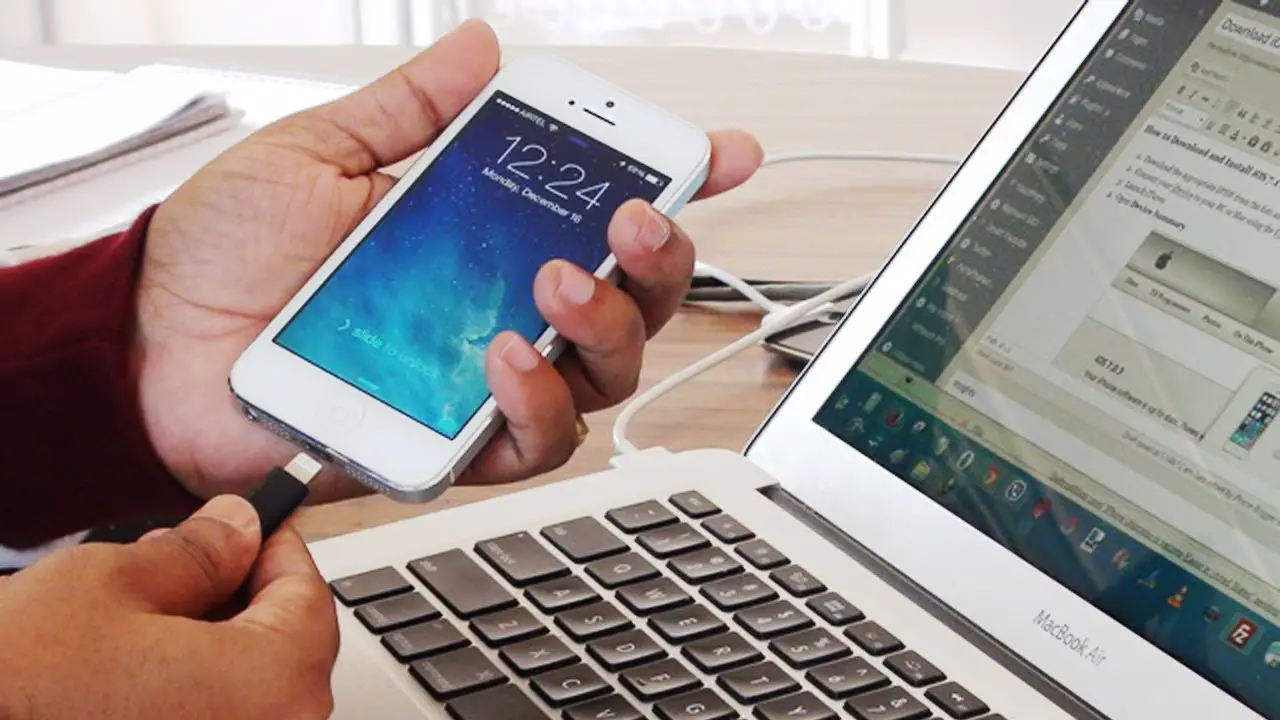
“How to import photos from iPhone to Windows? I have recently clicked some photos on my iPhone, but can’t seem to transfer them to my PC. Can someone please help me?”
As a reader asked us this question, it made us realize that plenty of other iPhone users also face a similar issue. Honestly, transferring photos from iPhone to Windows or Mac is not that tough. All you need is some right applications and tools to get things started and you are good to go. Don’t believe us? Why not read this extensive guide on how to transfer files from iPhone to PC (Windows/Mac) and learn more about some surefire solutions.
Transfer Photos from iPhone to Windows or Mac (All at once and selectively)
To have a seamless iPhone data transfer experience, give dr.fone – Transfer (iOS) a try. The tool can transfer all kinds of data between iPhone and Mac or Windows. It can even move your data from iPhone to iPhone/Android. It supports all the major kinds of data like photos, videos, music, contacts, messages, etc. You can transfer all data in one go or the first preview it as well to do a selective transfer.
To learn how to transfer files from iPhone to PC, you need to install the tool on your Windows or Mac. You can get its premium subscription or download a free trial version as well.
Method I: Transfer all photos in one go
In order to learn how to import photos from iPhone to PC in one go, follow these steps:
1. Launch the dr.fone toolkit on your system and visit the “Transfer” module from its home.
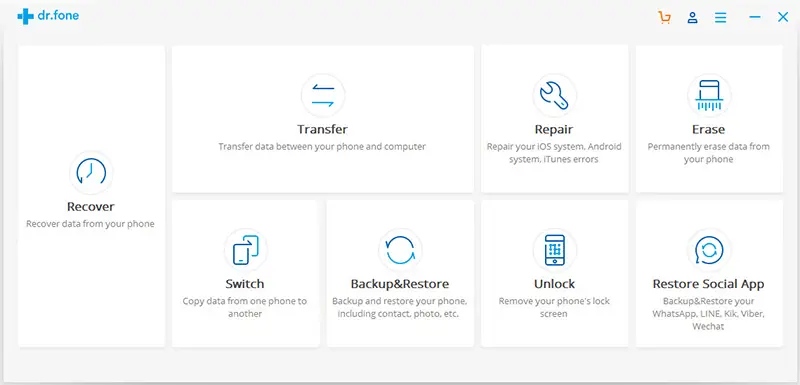
2. Connect your iPhone to the system using an authentic cable and let it detect the device. The application will display its snapshot with some shortcuts.
3. Click on the “Transfer Device Photos to PC” button to move all the saved photos to your computer in one go.
![]()
4. A browser window will open so that you can select the location to save your photos.
![]()
Method II: Transfer iPhone photos to PC selectively
A lot of times, users only wish to transfer selective photos and albums to their system. To learn how to import photos from iPhone to Windows or Mac (selectively), follow these steps:
1. Go to the “Transfer” module of dr.fone and connect your phone to the system.
2. Now, visit the “Photos” tab from the main menu. Here, you can preview all the saved photos and albums on your iOS device.
![]()
3. Simply select the photos or albums that you wish to transfer and click on the export icon on the toolbar.
4. Choose to export photos to your computer. As a browser pop-up window will open, go to the location where you wish to save your photos and click on the “Ok” button to start the transfer.
![]()
That’s it! After following this approach, you can easily learn how to import photos from iPhone to PC selectively or all at once. In the same way, you can also transfer your photos from computer to iPhone and manage other types of content as well.
Transfer iPhone Photos Wirelessly on Mac or Windows via iCloud
If you wish to try a native solution to transfer your photos, then you can explore iCloud. You might already know that all the iOS devices are linked to an iCloud account. By default, every user only gets a free space of 5 GB on iCloud. Since your photos can take a lot of space, chances are that you would be required to buy more storage. Also, it can consume a large chunk of your network data. Furthermore, the interface is not as simple as dr.fone to let you transfer your data selectively.
Though, if you wish to learn how to transfer files from iPhone to PC wirelessly, then you can follow these steps:
1. Unlock your iOS device and go to its iCloud settings.
2. Turn on the option for “iCloud Photo Library”. This will upload all photos taken from your device to iCloud automatically.
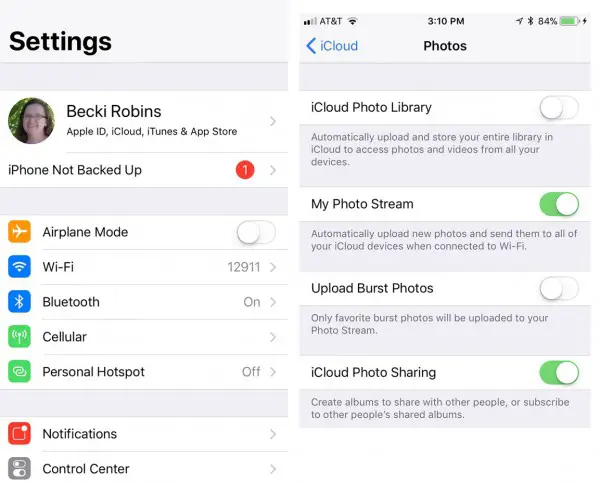
3. Now, launch the iCloud desktop app on your Mac or Windows PC. Enable the option to sync photos.
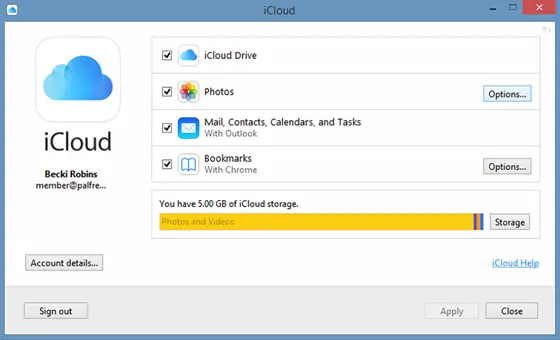
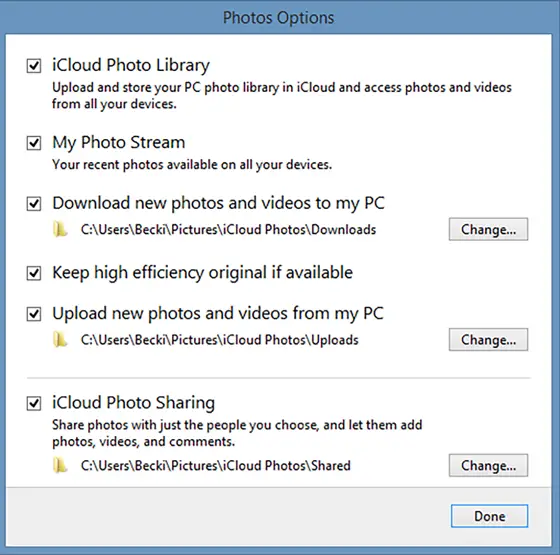
4. Visit its “Photo Options” and make sure the “iCloud Photo Library” feature is turned on. Apart from that, you can also select where you wish to save photos on your computer from here.
Sync iPhone Photos to Mac or Windows via iTunes
If you are looking for another native solution to transfer photos between iPhone and computer, then you can also try iTunes. It can sync your photos across different devices and make it easier for you to access them. Though, iTunes doesn’t have a user-friendly interface. You won’t be able to preview your photos or transfer them selectively like dr.fone – Transfer (iOS). To learn how to transfer files from iPhone to PC using iTunes, follow these instructions.
1. Launch an updated version of iTunes on your system. Connect your iPhone to it using an authentic cable. If you are connecting it for the first time, then you need to “Trust” it.
2. Click on the device icon and select the connected iPhone.

3. Once your iPhone is selected, go to its “Photos” tab from all the provided options on the left panel.
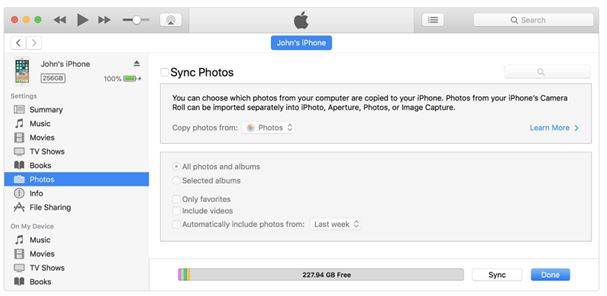
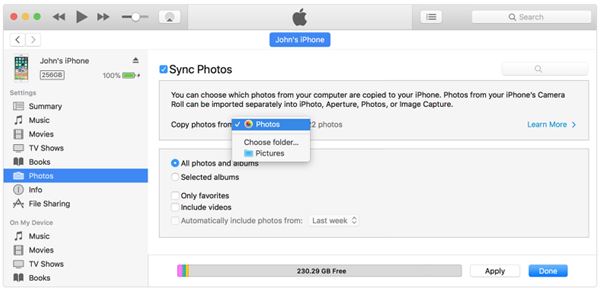
4. Now, turn on the option to sync iPhone photos with your computer. You can choose to sync certain albums or do complete sync.
5. Click on the “Apply” button in the end to implement it.
By following these techniques, you can easily learn how to import photos from iPhone to PC. If you want to save your time and efforts, then give dr.fone – Transfer (iOS) a try. It can transfer all photos in one go and can let you have a preview of your data to do a selective transfer as well. Go ahead and give it a try. If you want to teach anyone else how to import photos from iPhone to Windows or Mac, then feel free to share this guide with them as well.


