When it comes to photography styles and genres, there is an endless choice. Depending on the finished look you’re hoping to create through your imagery, there is a whole host of techniques to help you achieve something unique. Macro photography is one such technique to achieve stunning imagery, but if you’re quite new to photography, you may not have heard of it.
Macro photography can be a stunning way to show off tiny details that the human eye might otherwise miss. Here, we explain what macro photography means and how to achieve it.
Understanding macro photography
Macro photography is the art of intense magnification, which creates close up images that still remain very clear. Typically, you need to take pictures of objects with a ratio of 1:1 or larger; in other words, your subject must be the same size as your camera sensor or smaller.
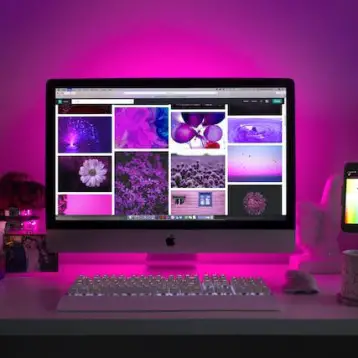
You can use free photo sharing websites for inspiration on just how magnified these images are and to give you some idea on what the finished image looks like. It is a great skill that can bring you into a new world where tiny insects, flower petals and more look huge! In turn, this can help you notice great detail about the world around you, that you wouldn’t otherwise have noticed.
What do you need to capture macro photography?
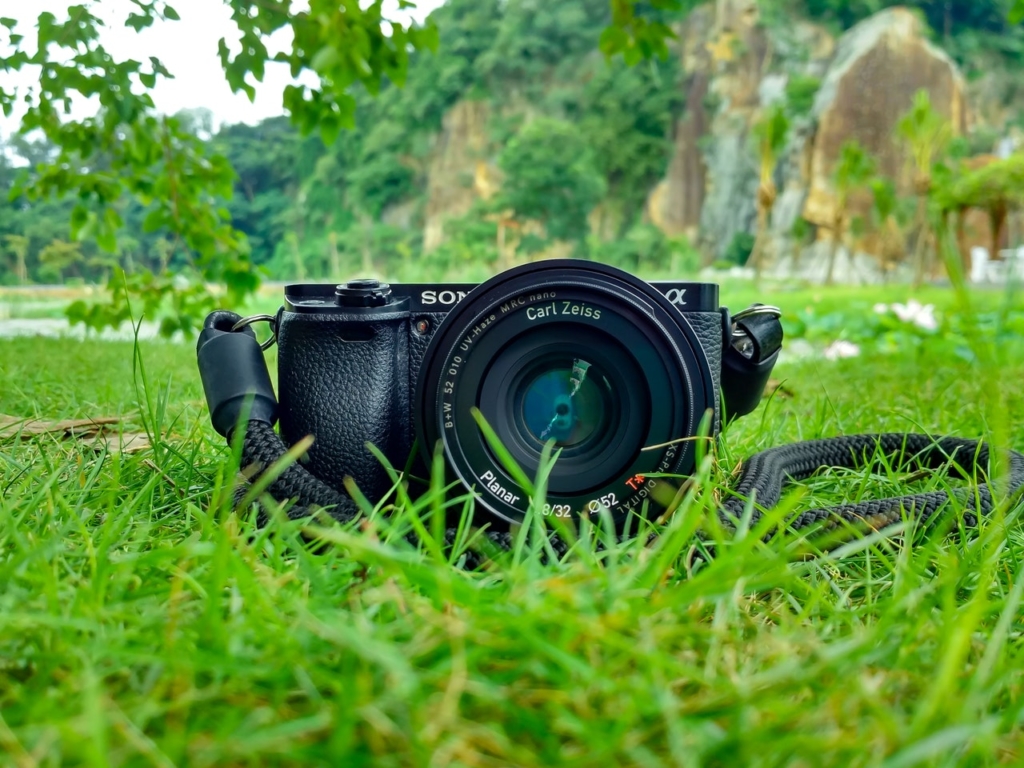
Specialist lenses and other equipment will be needed for macro photography, which can be daunting if you are just starting out as a photographer! Luckily, there are many online demos and courses that you can take to help you understand your equipment and make sure you’re using it correctly.
Picture quality can easily deteriorate when magnifying in on a finished image, so it’s important to use the right equipment. A tripod can be particularly useful to help achieve steady capture. Magnification can amplify any slight movement, so even if you think you have a steady hand, you may struggle here!
The great thing about technology is there are now pieces of equipment available like lens attachments for your smartphone, allowing you to practice and capture macro shots before you splash out on bigger equipment.
Specialist lenses and other equipment will be needed for macro photography, which can be daunting if you are just starting out as a photographer! Luckily, there are many online demos and courses that you can take to help you understand your equipment and make sure you’re using it correctly. If you want to invest in a good camera, a side-by-side camera comparison can be helpful for inspiring beginners.
Things to consider with macro photography
It’s important to understand a few technical things when it comes to macro photography. First of all, understand your working distance. This means the distance between the front of your lens and the nearest subject, and it should be around 6 inches if possible. Take care not to scare your subject off, or block out any of that light you need for the shot!
Speaking of light, consider the light conditions before shooting. Cloudy light can be very soft and flattering, and can actually enhance colours in your imagery. Midday cloud is usually best, when the sky is highest in order to avoid shadows. The golden hours are always a firm favourite too, including an hour after sunrise and the last hour before sunset. This can cast a golden glow over your image, but remember that it’s better if the sky is clear.
Macro photography can be used for a number of purposes, from professional nature photography to close-ups in science labs. It can inspire fascination and is often a very rewarding type of photography. Have a go today and see what you think!