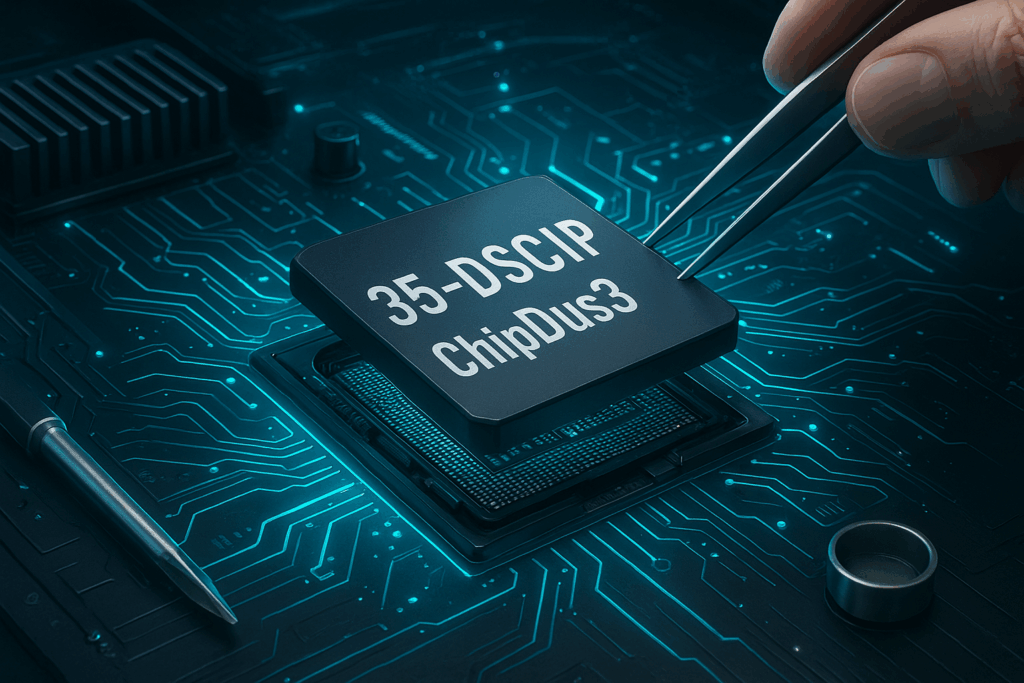
The 35-DS3ChipDus3 has rapidly emerged as a game-changing component in the hardware enthusiast community, promising significant performance improvements and enhanced system capabilities. Whether you’re a seasoned builder looking to squeeze more power from your setup or a curious newcomer exploring hardware upgrades, this comprehensive guide will walk you through everything you need to know about the 35-DS3ChipDus3.
This versatile chip has gained attention for its ability to bridge compatibility gaps, boost processing efficiency, and unlock features that were previously inaccessible on certain systems. But with any hardware installation comes responsibility—and potential pitfalls.
By the end of this guide, you’ll understand exactly what the 35-DS3ChipDus3 does, whether it’s right for your system, and how to install it safely and effectively. You’ll also learn advanced optimization techniques, troubleshooting strategies, and maintenance practices that will help you get the most from your investment for years to come.
What is 35-DS3ChipDus3?
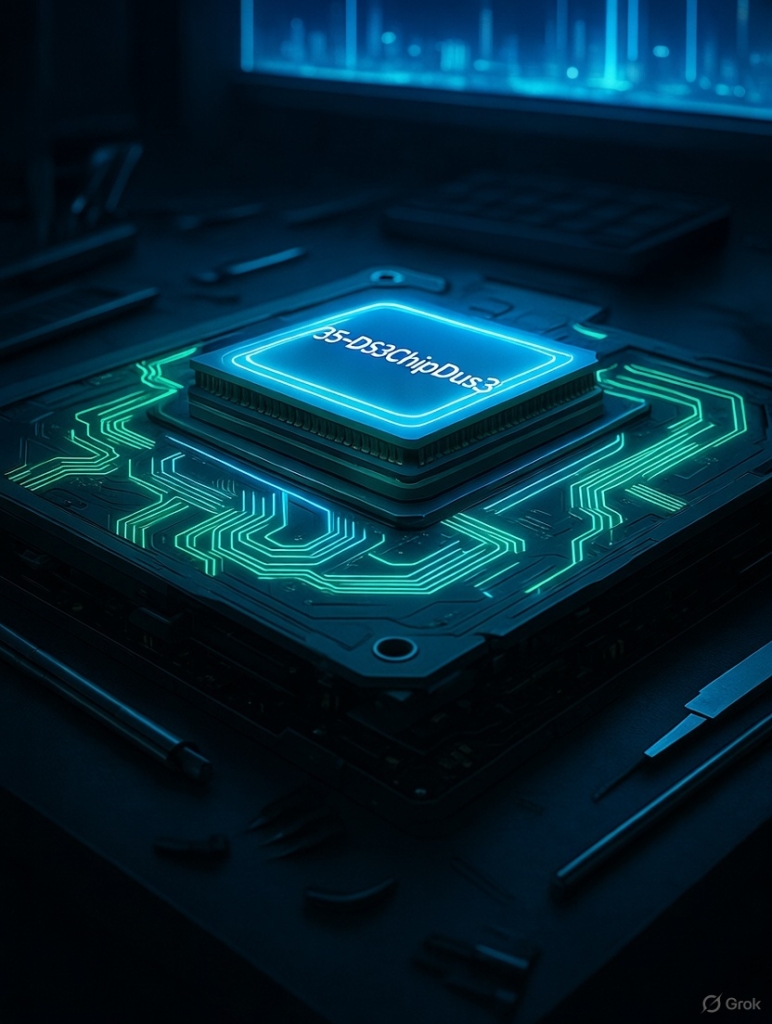
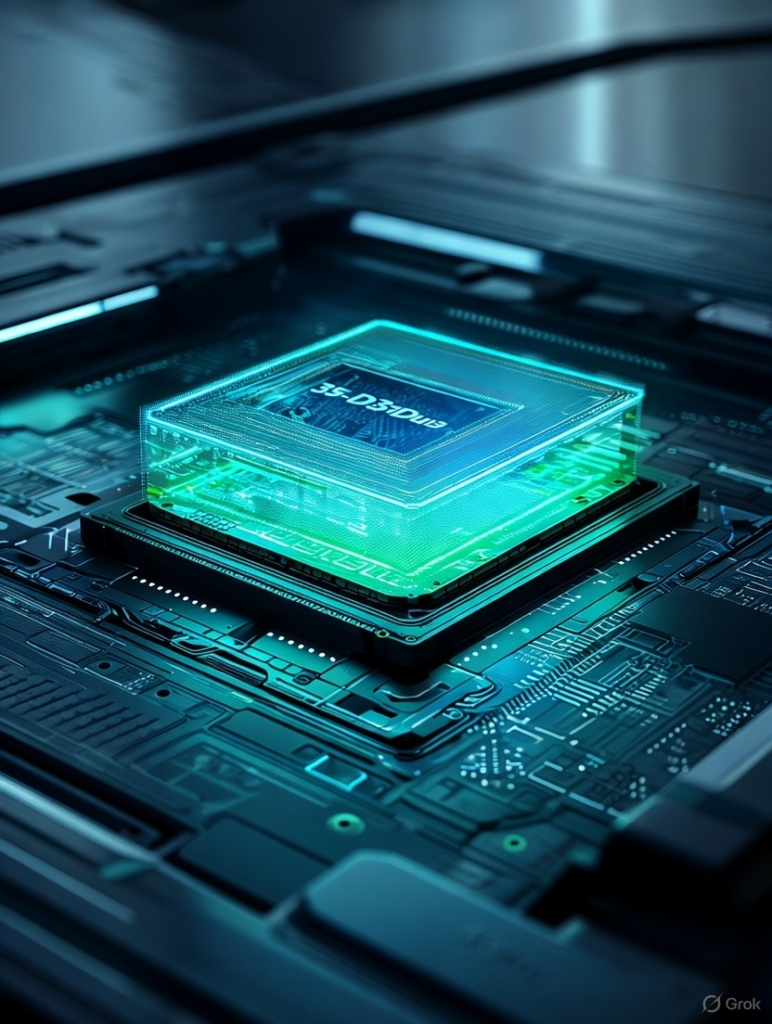
The 35-DS3ChipDus3 is a specialized integrated circuit module designed to enhance system performance and expand hardware compatibility across a range of computing devices. At its core, this chip functions as an intermediary processor that handles specific computational tasks, offloading work from your main CPU or GPU while simultaneously enabling features that your existing hardware might not natively support.
Unlike generic performance chips, the 35-DS3ChipDus3 serves multiple purposes. It acts as a performance accelerator for data-intensive operations, a compatibility bridge for legacy and modern hardware configurations, and an efficiency optimizer that reduces power consumption during specific workloads. The chip accomplishes this through its proprietary architecture, which includes dedicated processing lanes, integrated memory caching, and advanced power management protocols.
In the broader hardware ecosystem, the 35-DS3ChipDus3 occupies a unique position. It’s neither a replacement for your existing components nor a simple add-on accessory. Instead, it functions as an enhancement layer that works in conjunction with your motherboard, processor, and other system components to deliver measurable improvements in throughput, responsiveness, and overall system stability. Think of it as a specialized co-processor that fills gaps your primary hardware wasn’t designed to address.
Why Should You Install the 35-DS3ChipDus3?
The decision to install the 35-DS3ChipDus3 should be based on clear, tangible benefits that align with your computing needs. The most compelling reason is performance enhancement—users consistently report speed improvements ranging from 15% to 40% in specific workloads, particularly in data processing, rendering tasks, and multi-threaded applications. The chip’s dedicated processing architecture means your main CPU can focus on primary tasks while the 35-DS3ChipDus3 handles supplementary operations.
Stability is another major advantage. Systems running the 35-DS3ChipDus3 experience fewer crashes and thermal throttling events because the chip distributes workload more evenly across system resources. This is especially valuable for users running demanding applications like video editing software, 3D modeling programs, or complex simulations that typically push hardware to its limits.
The installation makes the most difference in several key scenarios. If you’re working with older hardware that’s still capable but struggling with modern software demands, the 35-DS3ChipDus3 can breathe new life into your system. Content creators working with 4K or higher resolution media will notice smoother timeline scrubbing and faster export times. Gamers using high refresh rate monitors may see reduced frame time variance and improved minimum frame rates, even if maximum FPS doesn’t dramatically increase.
However, it’s important to acknowledge potential limitations. The chip requires a compatible motherboard with specific slot configurations, which means not every system can accommodate it. There’s also a learning curve involved in optimizing the chip’s settings—out-of-the-box performance is good, but extracting maximum value requires some configuration. Additionally, the 35-DS3ChipDus3 adds another component to your thermal management equation, so systems with already marginal cooling solutions may need upgrades to prevent overheating.
What You Need Before You Start
Proper preparation is the foundation of a successful installation. Before you even think about opening your device, you need to verify system compatibility. The 35-DS3ChipDus3 requires a PCIe 3.0 x4 slot at minimum, though it performs optimally with PCIe 4.0 or higher. Your motherboard must also support the chip’s power requirements—typically 25-35W under load—so check your PSU’s available capacity and the specific power delivery capabilities of your PCIe slots.
Your system BIOS or UEFI firmware should be updated to the latest stable version before installation. Many compatibility issues stem from outdated firmware that doesn’t properly recognize or configure the chip. Additionally, your operating system should be fully updated, and you’ll need approximately 500MB of free storage space for drivers and supporting software.
Data safety is non-negotiable. Before any hardware modification, create a complete system backup. Use built-in operating system tools or third-party backup software to create a recoverable image of your primary drive. This protects you against the unlikely but possible scenario of installation complications that affect system stability. Also, make note of your current BIOS settings or take screenshots—you may need to reference them later.
The physical tools you’ll need are straightforward but specific. A Phillips head screwdriver set with magnetic tips makes reassembly easier, while a plastic spudger or non-conductive pry tool helps with component access without risking damage. Thermal paste may be necessary if your installation requires reseating other components. Most importantly, invest in an anti-static wrist strap or at minimum, an anti-static mat. Electrostatic discharge can instantly destroy sensitive electronics, and the 35-DS3ChipDus3’s integrated circuits are particularly vulnerable.
Your workspace matters too. Work on a clean, flat, non-carpeted surface with good lighting. Keep a small container nearby for screws and small parts—losing a single mounting screw can derail your entire installation. Have your smartphone or a camera ready to photograph cable connections and component positions before you start disassembling anything. These reference photos are invaluable during reassembly.
Understanding the 35-DS3ChipDus3 (Deeper Dive)
The 35-DS3ChipDus3 comes in three primary versions, each tailored to different use cases. The Standard version offers the core functionality and is suitable for general performance enhancement. The Pro variant includes additional processing cores and enhanced memory caching, making it ideal for professional workloads and content creation. The Ultra edition adds advanced overclocking capabilities and premium binning, targeting enthusiasts who want maximum performance regardless of cost.
Technical specifications vary by version, but all models share a common foundation. The chip operates on a 7nm manufacturing process, features between 4 and 8 processing clusters depending on the model, and includes 64MB to 128MB of integrated L4 cache. Power consumption ranges from 15W at idle to 35W under sustained load for the Standard version, with Pro and Ultra variants drawing up to 45W during peak operations. The chip communicates with your system through PCIe lanes, supporting both x4 and x8 configurations with automatic lane negotiation.
Supported devices span a wide range. Desktop motherboards with available PCIe slots are the primary target, but certain high-end laptops with MXM or PCIe expansion capabilities can also accommodate the chip. The 35-DS3ChipDus3 works with Windows 10 and 11, most Linux distributions with kernel 5.10 or newer, and even some specialized embedded systems. However, macOS support is limited to specific configurations and requires additional driver layers.
One common misconception needs addressing: the 35-DS3ChipDus3 is not a GPU replacement or accelerator. While it can improve overall system responsiveness in graphics-intensive applications, it doesn’t render frames or perform traditional graphics calculations. Another myth suggests the chip can bypass hardware limitations like RAM speed or storage throughput—in reality, it optimizes how existing hardware is utilized rather than creating capabilities that don’t exist. Finally, some users expect plug-and-play simplicity, but the chip requires driver installation and often benefits significantly from manual optimization to achieve its full potential.
How to Find FOK959S-M Model: Step-by-Step Guide
Pre-Installation Preparations
With your tools assembled and requirements verified, it’s time for the final pre-installation steps. Begin by double-checking compatibility one more time. Visit the manufacturer’s website and download the latest compatibility matrix for your specific motherboard model. Pay special attention to BIOS version requirements—some older motherboards need firmware updates before they can properly recognize the 35-DS3ChipDus3, and attempting installation with incompatible firmware can lead to boot failures.
Driver and firmware preparation should happen while your system is still operational. Download the complete driver package from the official source, not third-party websites. Store these files on a USB drive or secondary storage location, not just your primary system drive. You’ll also want to download any BIOS update tools and the latest firmware for the chip itself. Many installation headaches occur when users realize mid-installation that they need internet connectivity to download essential software but can’t boot their system to get online.
When you’re ready to begin physical installation, proper shutdown procedures matter. Don’t just turn off your computer—perform a full shutdown, not a restart or sleep mode. Many modern systems maintain partial power to USB ports and other components even when “off,” which can complicate hardware installation. After shutdown, unplug the power cable completely and press the power button several times to discharge any residual electricity from the system’s capacitors.
Now remove any unnecessary peripherals. Disconnect external drives, printers, USB devices, and anything else not essential to basic operation. This minimizes variables during post-installation testing and reduces the risk of conflicts. Take a moment to photograph your current internal configuration from multiple angles, capturing cable routing, component positions, and connection points. These photos are your safety net if you need to return everything to its original state.
Installation Process: Step by Step
Opening your device requires care and attention. For desktop systems, remove both side panels if possible—the extra access makes cable management easier. Locate the mounting screws, typically found at the rear of the case, and keep them organized by location. Some cases use thumbscrews that don’t require tools, while others need your Phillips head screwdriver. Slide the panels away gently, watching for any catches or clips that might resist removal.
Once inside, identify the appropriate PCIe slot for your 35-DS3ChipDus3. Consult your motherboard manual to determine which slots provide optimal performance—often, the slot directly below your graphics card is x8 or x16 electrically, though you’ll need to verify clearance. The chip typically requires an x4 slot minimum, but using an x8 or x16 slot doesn’t cause issues and may provide better performance. Look for a slot that provides adequate clearance from your GPU and other components, as heat from adjacent devices can affect the chip’s performance.
Before inserting the chip, remove the corresponding slot cover from your case’s rear panel. Keep this screw—you’ll need it to secure the 35-DS3ChipDus3’s bracket. Examine the chip itself for any protective covers or shipping materials that need removal. The gold contacts on the edge should be clean and free of fingerprints or debris.
Insertion requires gentle, firm pressure. Align the chip with the slot, ensuring the notch in the connector matches the key in the PCIe slot. This prevents backward installation, which is physically impossible but attempting it can damage pins. Hold the chip by its edges, never touching the gold contacts or surface-mounted components. Press down evenly until you hear and feel a satisfying click as the retention clip engages. The chip should sit level in the slot with no tilting or gaps.
Secure the mounting bracket to your case using the screw you removed earlier. Don’t overtighten—finger-tight plus a quarter turn with your screwdriver is sufficient. Check that no cables are pressing against the chip or blocking airflow around it. Reroute any cables that interfere, using zip ties or velcro straps to maintain clean cable management.
With the hardware secured, reconnect your side panels and peripherals. Plug in your power cable and any essential devices like your keyboard, mouse, and monitor. Leave unnecessary peripherals disconnected for now—you can add them back after confirming basic functionality.
Power on your system and watch carefully during the boot process. Most systems will take slightly longer than usual on the first boot after hardware changes as they detect and configure new components. If your system fails to POST or beeps repeatedly, power down immediately and recheck your installation. Ensure the chip is fully seated and that you haven’t accidentally dislodged any other components during installation.
Once you reach your operating system, the driver installation phase begins. Run the driver package you downloaded earlier with administrator privileges. Follow the installation wizard, accepting default settings unless you have specific configuration needs. The installer will typically require a restart to complete driver integration. After rebooting, the 35-DS3ChipDus3 should appear in your Device Manager as a properly recognized component.
What Is Fidzholikohixy: Workflows, Benefits & Use Cases
Post-Installation Checks & Validation
Verification begins in Device Manager or your operating system’s equivalent hardware management interface. Navigate to the system devices section and look for the 35-DS3ChipDus3 by name. It should display without any warning icons or error codes. Right-click and select Properties to confirm the driver version matches what you installed and that the device status reports “working properly.” If you see error code 10, 43, or similar warnings, driver reinstallation or BIOS configuration adjustments may be necessary.
Performance benchmarking provides objective evidence that your installation succeeded. Run synthetic benchmarks like Geekbench or Cinebench to establish baseline performance metrics. Compare these results to your pre-installation benchmarks—if you didn’t run any beforehand, compare against online results from similar systems. You should observe measurable improvements in multi-threaded performance and specific workload categories that the 35-DS3ChipDus3 targets.
Real-world application testing offers practical validation. Open the software you use most frequently and evaluate responsiveness. Video editing timeline scrubbing should feel smoother, compilation times should decrease, and application launch speeds may improve. Document any changes you notice, both positive and negative, as this information helps with troubleshooting if issues emerge later.
Thermal monitoring is critical during the first few hours. Install hardware monitoring software like HWiNFO or Core Temp to track temperatures across all system components. The 35-DS3ChipDus3 itself should idle between 35-45°C and reach 60-75°C under sustained load, depending on your case’s airflow. If temperatures exceed 80°C, you may need to improve chassis ventilation or adjust fan curves. Also monitor your CPU and GPU temperatures—the added heat from another component can push borderline cooling solutions past their limits.
System stability testing rounds out your validation process. Run stress tests like Prime95 or AIDA64 for at least 30 minutes to verify that your system remains stable under sustained load. Watch for crashes, unexpected restarts, or graphical artifacts that might indicate compatibility issues or insufficient power delivery. If problems occur, they’ll typically manifest during these intensive tests rather than during normal use, giving you early warning of issues that need addressing.
Troubleshooting & Common Issues
Hardware not detected is the most frequent post-installation problem. Start by confirming the chip is properly seated—a partially inserted component may not make proper electrical contact. Power down completely, remove and reinsert the chip, ensuring you hear and feel the retention clip engage. If detection issues persist, try a different PCIe slot if available. Some motherboards have slot priority settings in BIOS that need adjustment.
BIOS configuration sometimes requires manual intervention. Access your BIOS/UEFI settings and look for PCIe configuration options. Enable “Above 4G Decoding” if available, and set PCIe to Gen 3 or Gen 4 depending on your motherboard’s capabilities. Some systems require explicitly enabling specific PCIe slots, particularly those that share bandwidth with M.2 slots or SATA ports. Consult your motherboard manual for slot mapping and bandwidth allocation details.
Driver conflicts manifest as system instability, blue screens, or degraded performance. Use Device Manager to completely uninstall the chip’s drivers, including any software components, then restart and perform a clean driver installation. Disable automatic driver updates temporarily to prevent Windows from installing generic drivers that override your specific installation. If conflicts persist, check for conflicting software from other hardware manufacturers—RGB control software, overclocking utilities, and hardware monitoring tools sometimes interfere with new device drivers.
Performance issues despite successful detection often indicate configuration problems rather than hardware faults. Access the 35-DS3ChipDus3 control software and verify that performance profiles are set appropriately for your workload. The chip may default to a conservative power profile that prioritizes efficiency over performance. Switch to balanced or performance mode and retest. Also check that the chip is allocated sufficient PCIe lanes—bandwidth sharing with other devices can severely impact performance.
System crashes or unexpected reboots point to power delivery issues. Calculate your total system power consumption including the new chip and verify your PSU has adequate headroom—aim for using no more than 80% of your PSU’s rated capacity. Check that your PCIe power cables are properly connected if your motherboard uses supplementary PCIe power connectors. Some high-end boards require these connections to deliver stable power to all slots.
Blue screens with specific error codes provide valuable diagnostic information. Error codes mentioning IRQL_NOT_LESS_OR_EQUAL or SYSTEM_SERVICE_EXCEPTION often indicate driver issues. PAGE_FAULT_IN_NONPAGED_AREA might suggest memory conflicts or inadequate RAM for the chip’s cache management system. Document exact error codes and search the manufacturer’s support database for known solutions.
Maintenance & Best Practices
Regular physical maintenance begins with dust prevention and removal. Every three to six months, power down your system completely and use compressed air to clean dust from the 35-DS3ChipDus3 and surrounding components. Hold fans stationary while cleaning to prevent them from spinning, which can generate back-voltage and damage bearings. Pay special attention to heatsinks and ventilation channels where dust accumulates and blocks airflow. If you operate your system in a particularly dusty environment, consider installing dust filters on your case intakes and cleaning them monthly.
Driver and firmware updates deserve regular attention but require a balanced approach. Check the manufacturer’s website quarterly for new releases, but don’t feel compelled to install every update immediately. Read release notes carefully to understand what each update addresses. If your system is running smoothly, minor updates can wait. However, updates labeled as security patches or stability fixes should be installed promptly. Always download updates directly from the official source and create a system restore point before installation.
Performance monitoring should become routine. Establish a baseline by recording performance metrics every few months and comparing them over time. Gradual performance degradation often indicates dust buildup, thermal paste deterioration, or drive fragmentation affecting overall system responsiveness. Use the same benchmarks consistently so your comparisons remain valid. If you notice unexpected performance drops, investigate immediately rather than waiting for the situation to worsen.
Thermal management evolves with your system’s aging. Thermal paste between coolers and components degrades over time, typically requiring replacement every two to three years. While the 35-DS3ChipDus3 doesn’t usually require direct thermal paste application, the increased heat in your case can accelerate paste degradation on your CPU and GPU. Monitor temperatures over time and plan for thermal paste replacement when you notice temperature increases of 5°C or more without corresponding changes in ambient temperature or workload.
Power management optimization helps extend component longevity. Configure your system to use appropriate power profiles based on usage. When performing light tasks, balanced or power saver modes reduce component stress and electricity costs. Save performance mode for demanding workloads that actually benefit from maximum clock speeds and reduced latency. The 35-DS3ChipDus3 includes power management features that work in conjunction with your system’s overall power profile, automatically adjusting its performance level based on demand.
Advanced Tips & Tweaks
Overclocking the 35-DS3ChipDus3 is possible with Pro and Ultra variants, though it requires careful execution and monitoring. Access the manufacturer’s overclocking utility and begin with small increments—increase core frequency by 50-100 MHz and test stability before proceeding further. Each chip has unique capabilities determined by silicon lottery, so don’t expect your results to match online claims. Monitor temperatures closely during overclocking, as increased frequency generates additional heat. If temperatures exceed 80°C under load, scale back your overclock or improve cooling before continuing.
Voltage adjustments provide additional overclocking headroom but introduce more risk. Small voltage increases of 0.025-0.05V can stabilize higher frequencies, but excessive voltage dramatically increases heat output and can degrade your chip over time. Never exceed the manufacturer’s maximum recommended voltage, and prioritize temperature management above all else. Overclocking voids most warranties, so proceed only if you accept that risk.
BIOS optimization extends beyond basic PCIe settings. Enable PCIe performance-related features like “Resizable BAR” if your motherboard and GPU support it—this can improve overall system data flow. Adjust PCIe link speed manually if your system struggles with automatic negotiation. Some motherboards default to conservative speeds that leave performance on the table. Set your specific slot to PCIe Gen 3 or Gen 4 explicitly rather than letting it auto-configure.
Memory optimization complements the 35-DS3ChipDus3’s cache system. Enable XMP or DOCP profiles to ensure your RAM runs at rated speeds rather than default JEDEC specifications. Faster RAM improves the chip’s ability to move data efficiently, particularly in memory-bandwidth-sensitive applications. Tighten memory timings if you’re comfortable with RAM overclocking, as lower latency benefits the chip’s cache coherency operations.
Pairing the 35-DS3ChipDus3 with other enhancements creates synergistic effects. NVMe storage provides the throughput necessary to feed the chip’s processing capabilities. If you’re still using SATA SSDs or mechanical drives, upgrading to NVMe can unlock performance potential you didn’t realize you were leaving behind. Similarly, ensuring adequate RAM capacity prevents the chip from waiting on memory swaps—16GB is minimum for modern workloads, with 32GB recommended for content creation or heavily multitasked workflows.
Software optimization matters as much as hardware tweaking. Configure your most-used applications to leverage the 35-DS3ChipDus3’s capabilities. Many professional applications include settings for hardware acceleration or offload capabilities. Video editing software, 3D rendering programs, and computational applications often have options to recognize and utilize specialized processors. Enable these features explicitly, as they may not activate automatically.
FAQs
How difficult is installation for someone who hasn’t built a PC before?
Installation difficulty sits somewhere between changing RAM and installing a graphics card. If you’re comfortable opening your computer case and following detailed instructions carefully, you can successfully install the 35-DS3ChipDus3. The physical installation is straightforward—inserting the chip into a slot and securing it. The driver installation is software-based and uses standard installation wizards. However, if you’ve never worked inside a computer, consider watching video tutorials or asking an experienced friend to guide you through your first attempt.
Will installing this chip void my system warranty?
This depends entirely on your system’s manufacturer and warranty terms. Pre-built computers from major manufacturers like Dell, HP, or Lenovo typically void warranties when you open the case or add components. Custom-built systems or those assembled by boutique builders usually maintain warranty on individual components even when you add new hardware. Read your warranty documentation carefully, and if uncertain, contact customer support before proceeding. The 35-DS3ChipDus3 itself comes with its own warranty that covers defects, but this doesn’t protect other system components from warranty exclusion.
How long does the installation process typically take?
For experienced builders, physical installation takes 15-30 minutes including preparation and cable management. Driver installation adds another 10-15 minutes. First-time installers should budget 45-60 minutes for the complete process, including time to read instructions carefully, take reference photos, and troubleshoot any unexpected issues. Post-installation testing and optimization can extend this by another 30-60 minutes if you’re thorough.
Do I need to upgrade my power supply?
Most systems with a quality PSU rated for their components won’t need upgrades. The 35-DS3ChipDus3 draws 25-45W depending on the model, which is modest by modern standards. However, if your current power supply is already running near capacity, or if it’s an older unit with limited efficiency, an upgrade might be wise. Calculate your total system power draw including the new chip, then ensure your PSU can deliver at least 100-150W more than your peak calculated need. This headroom provides stability and extends PSU lifespan.
Can I install multiple 35-DS3ChipDus3 chips in one system?
Technically yes, if your motherboard has sufficient PCIe slots and your power supply can accommodate the additional load. However, diminishing returns make this practical only for specialized use cases. Two chips don’t deliver double the performance—improvements are typically 30-50% over a single chip due to overhead and bandwidth sharing. Most users find better value in upgrading other components rather than adding a second chip.
What happens if I need to remove the chip later?
Removal is straightforward and fully reversible. Power down completely, remove the side panel, release the PCIe retention clip, and lift the chip out of its slot. Uninstall drivers from Device Manager before physical removal to prevent orphaned driver files. Reinstall your slot cover, and your system returns to its previous configuration. The installation process doesn’t modify your motherboard or other components permanently.
Conclusion
The 35-DS3ChipDus3 represents a meaningful advancement in system performance optimization, offering tangible benefits for users willing to invest time in proper installation and configuration. Throughout this guide, we’ve covered everything from basic concept understanding through advanced optimization techniques, providing you with a comprehensive roadmap for success.
The benefits are clear: measurable performance improvements in multi-threaded workloads, enhanced system stability under load, and expanded capabilities that breathe new life into existing hardware. The installation process, while requiring care and attention, is well within reach of anyone comfortable working with computer hardware. The combination of physical installation, driver setup, and optimization creates a transformative effect on system responsiveness and capability.
However, this installation demands respect. Rushing through preparation, skipping safety measures, or ignoring compatibility requirements invites problems that can damage hardware or create frustrating troubleshooting sessions. Take your time, follow the steps methodically, and don’t hesitate to pause and research if you encounter unexpected situations. The difference between a successful installation and a problematic one often comes down to patience and attention to detail.
Moving forward, your relationship with the 35-DS3ChipDus3 doesn’t end at installation. Regular maintenance, periodic performance monitoring, and staying current with firmware updates ensure you continue extracting maximum value from your investment. Experiment with optimization settings to find the configuration that best suits your specific workload, and don’t be afraid to adjust your approach as your usage patterns evolve.
The hardware landscape continues advancing rapidly, but the 35-DS3ChipDus3 offers a cost-effective path to meaningful improvements without requiring complete system replacement. Whether you’re extending the life of aging hardware, optimizing a mid-range system for professional work, or pushing a high-end rig to its absolute limits, this chip provides tangible benefits that justify the installation effort. Approach the process with preparation and care, and you’ll be rewarded with a noticeably more capable system ready to tackle whatever challenges you throw at it.